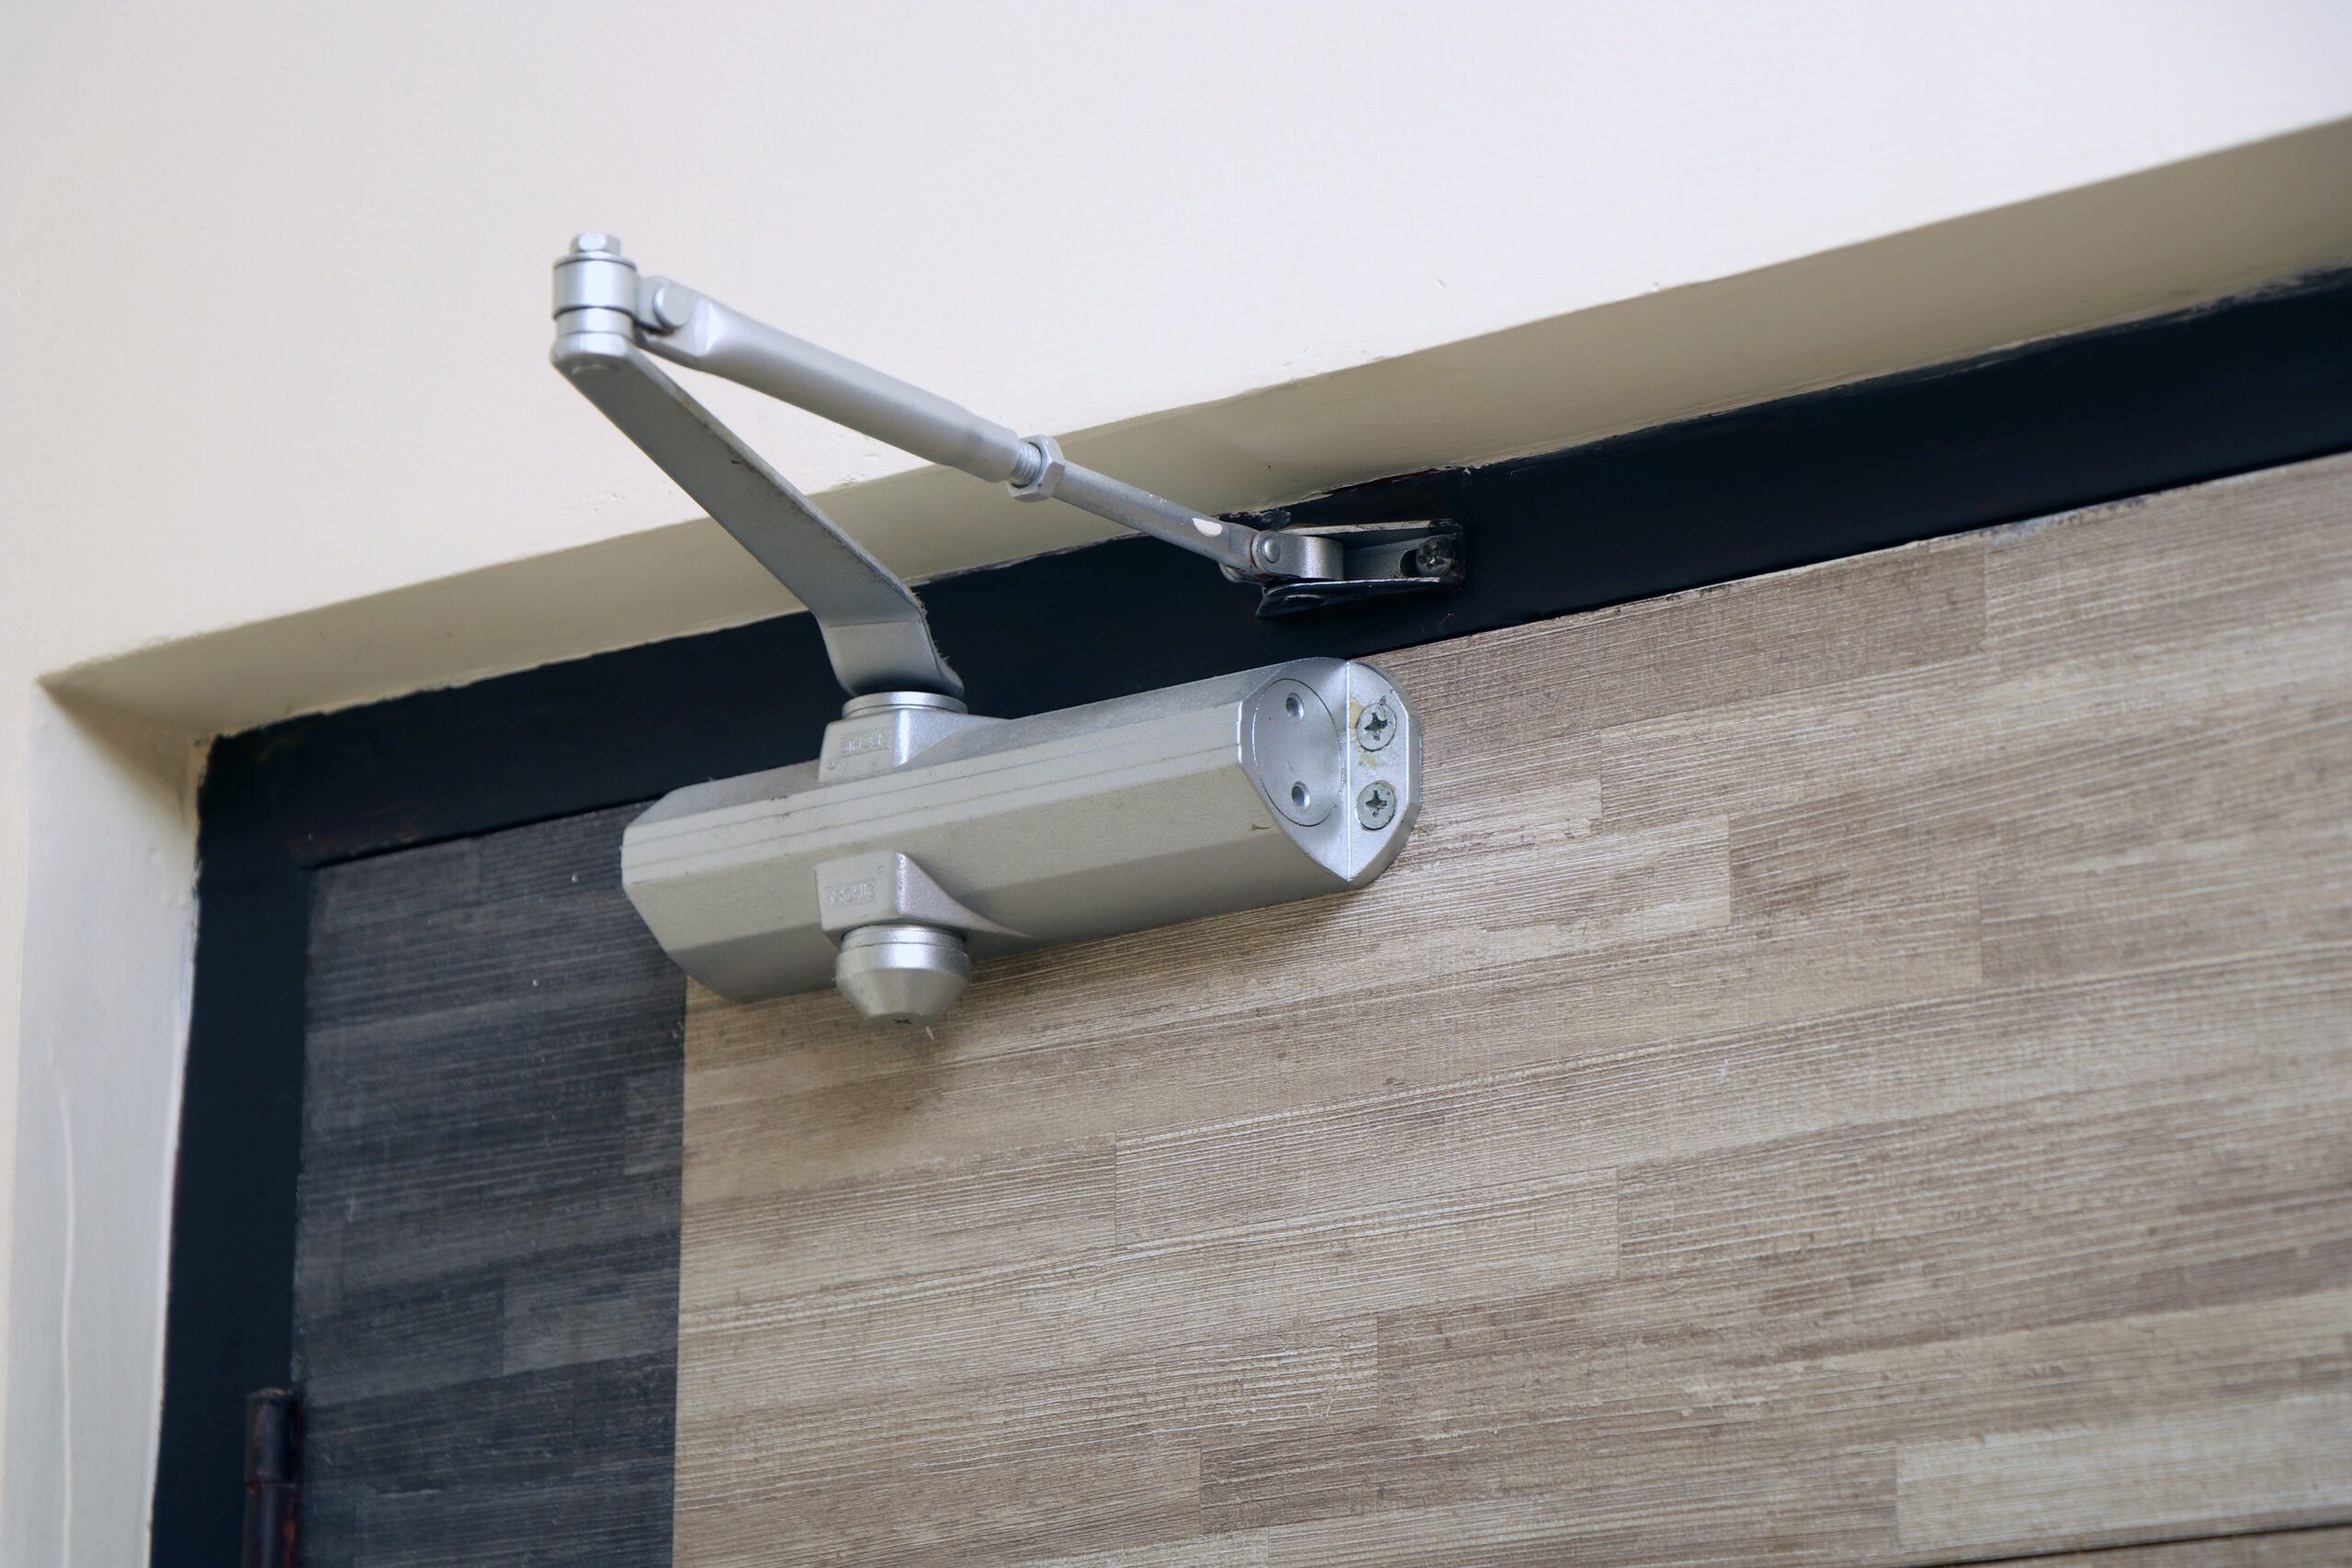
Door Closer
Adjusting a door closer might seem daunting, but with the proper guidance, it can be a straightforward process. Door closers are essential for ensuring controlled and smooth closing of doors, particularly in commercial settings or buildings with heavy foot traffic.
Whether the door closer needs fine-tuning due to speed, force, or alignment issues, here’s a step-by-step guide on how to adjust it effectively:
Tools You Might Need:
- Screwdriver (typically a flathead or Phillips)
- Allen wrench (depending on the closer model)
- Lubricant (optional for smoother operation)
Adjusting Door Closer Speed and Closing Force:
1) Identify Closer Controls:
- Locate the adjustment screws or valves on the door closer. These are usually located at the closer’s end or closer to the hinge.
2) Adjusting Closing Speed:
- To slow down the closing speed: Turn the screw or valve labelled “Speed” or “Closing Speed” clockwise. This regulates the hydraulic fluid flow, slowing down the closing speed.
- To increase the closing speed: Turn the screw counterclockwise.
3) Setting Closing Force:
- To decrease the closing force: Turn the adjustment screw clockwise. This reduces the force exerted by the closer.
- To increase the closing force: Turn the screw counterclockwise.
Alignment Adjustments:
1) Check Alignment:
- Ensure the door is aligned correctly and closes evenly. Adjustments are needed if it’s dragging on one side or not closing evenly.
2) Adjusting Latch Speed (Optional):
- Some closers have a separate adjustment for latch speed, allowing adjustments to the final few inches of the door closing. Follow similar steps as adjusting the closing speed.
Step-by-Step Adjustment Process:
1) Prepare the Door Closer:
- Please open the door fully and prop it open using a doorstop or wedge to access the closer mechanism easily.
2) Use Caution:
- Before adjusting, take note of the current settings and make small, incremental changes to prevent over-adjustment, which can affect the door’s performance.
3) Begin Adjustment:
- Using the appropriate tool, turn the adjustment screws gradually while observing the changes in the door’s closing speed and force.
4) Test the Door:
- After each adjustment, close and open the door multiple times to ensure it functions smoothly and evenly.
5) Fine-Tune as Needed:
- Continue making slight adjustments until the door operates as desired, closing smoothly without slamming or being too slow.
6) Lubricate (Optional):
- If needed, apply lubricant to hinges, pivot points, and moving parts to ensure smoother operation.
Safety Precautions:
- Exercise caution when adjusting the door closer to prevent injury, especially with heavy doors or spring-loaded closers.
- Work in a well-lit area and ensure a stable footing while making adjustments.
By following these steps and being mindful of the door closer’s mechanism and adjustments, you can effectively fine-tune its settings to achieve the desired closing speed, force, and alignment.
If you need help with making adjustments, consider consulting a professional or the door closer’s manufacturer for guidance.
You Might Also Like: What is The Concept of Cosmetics?


